
Wheeled outdoor access

Rough Terrain Scissor Lifts

Match the wheeled chassis to the measured route and setup area.

Describe the surface, slopes, transitions, platform task, deployed footprint and transport route without assuming capability from tire appearance.

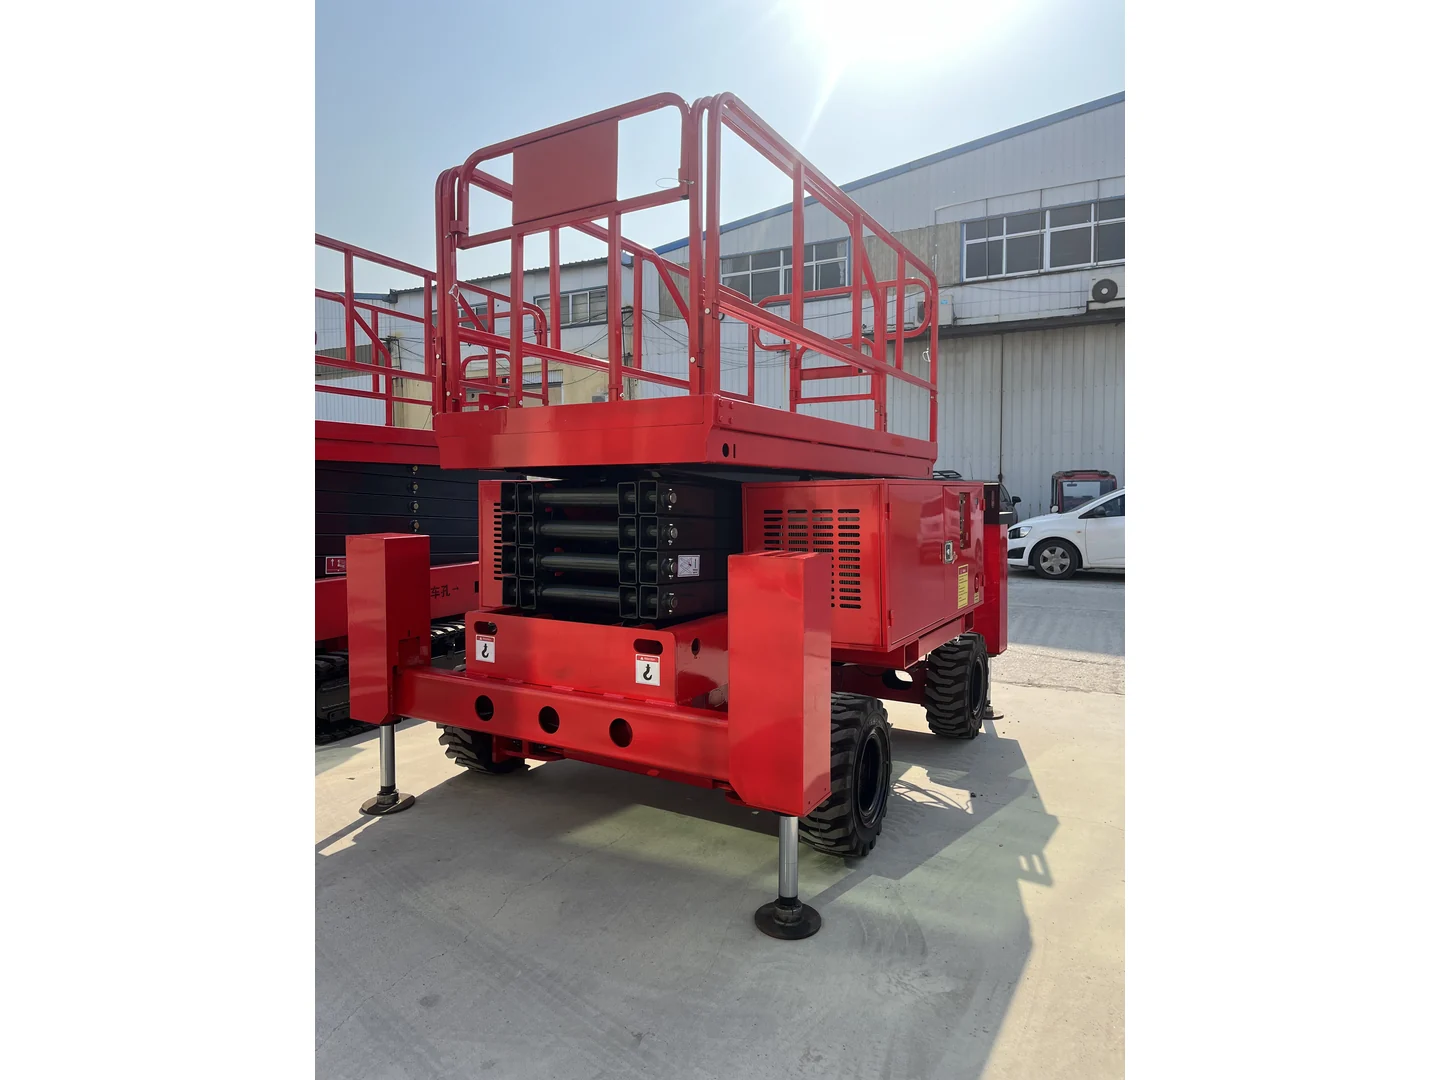
Complete red rough terrain scissor lift folded with wheels and stabilizers visible, beside other equipment
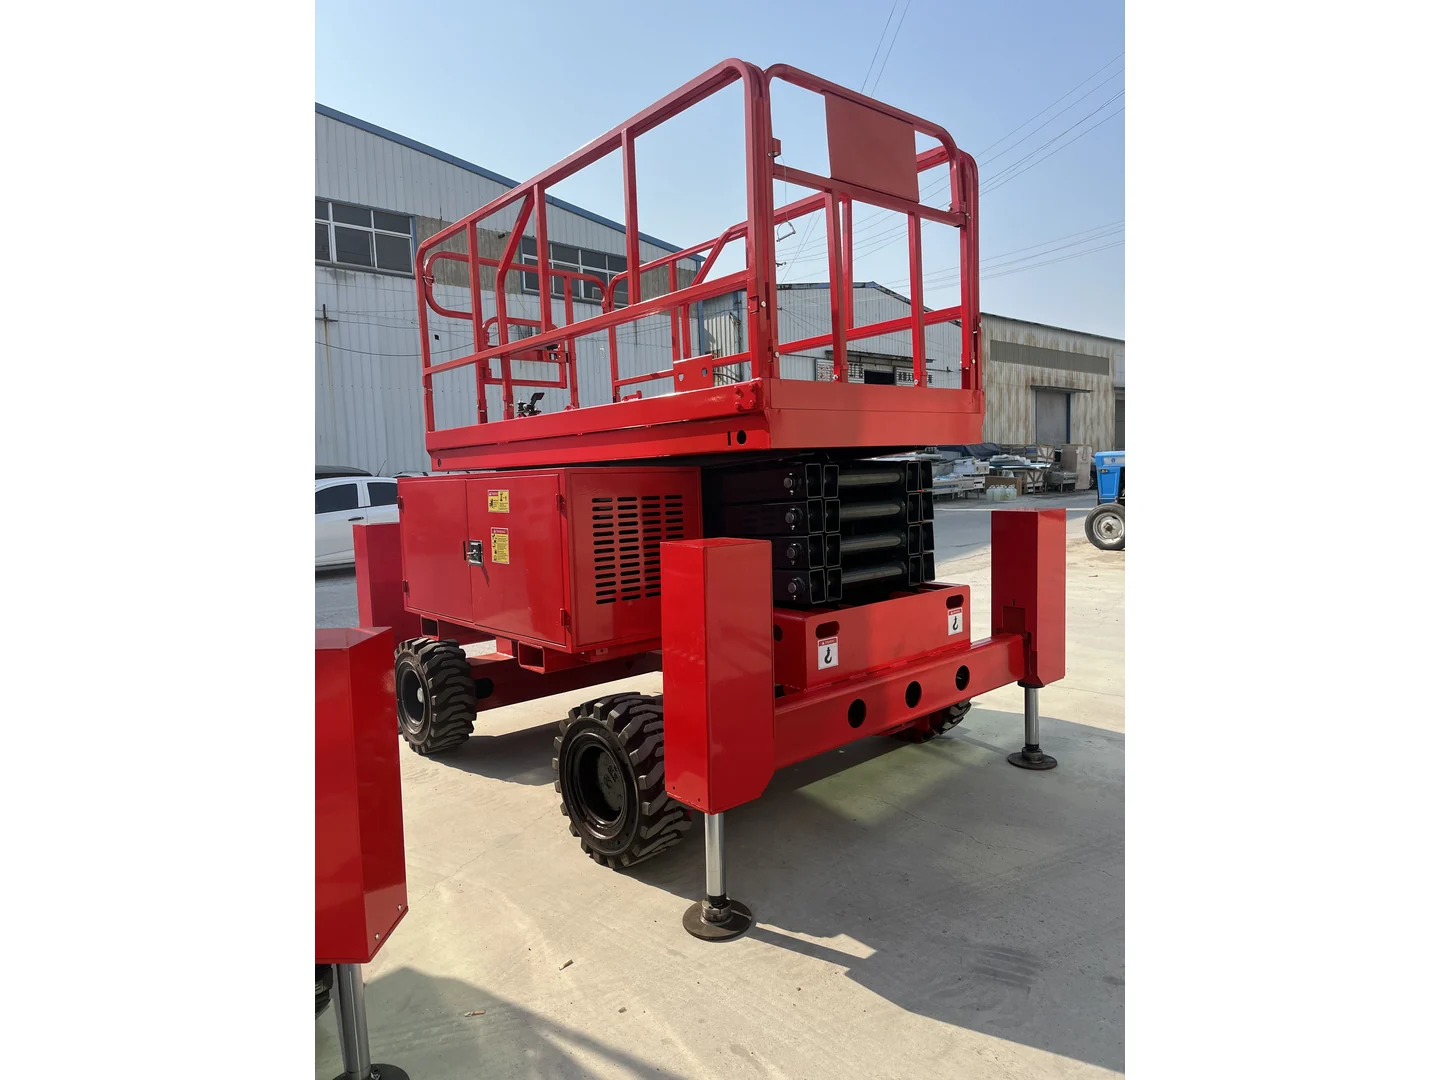
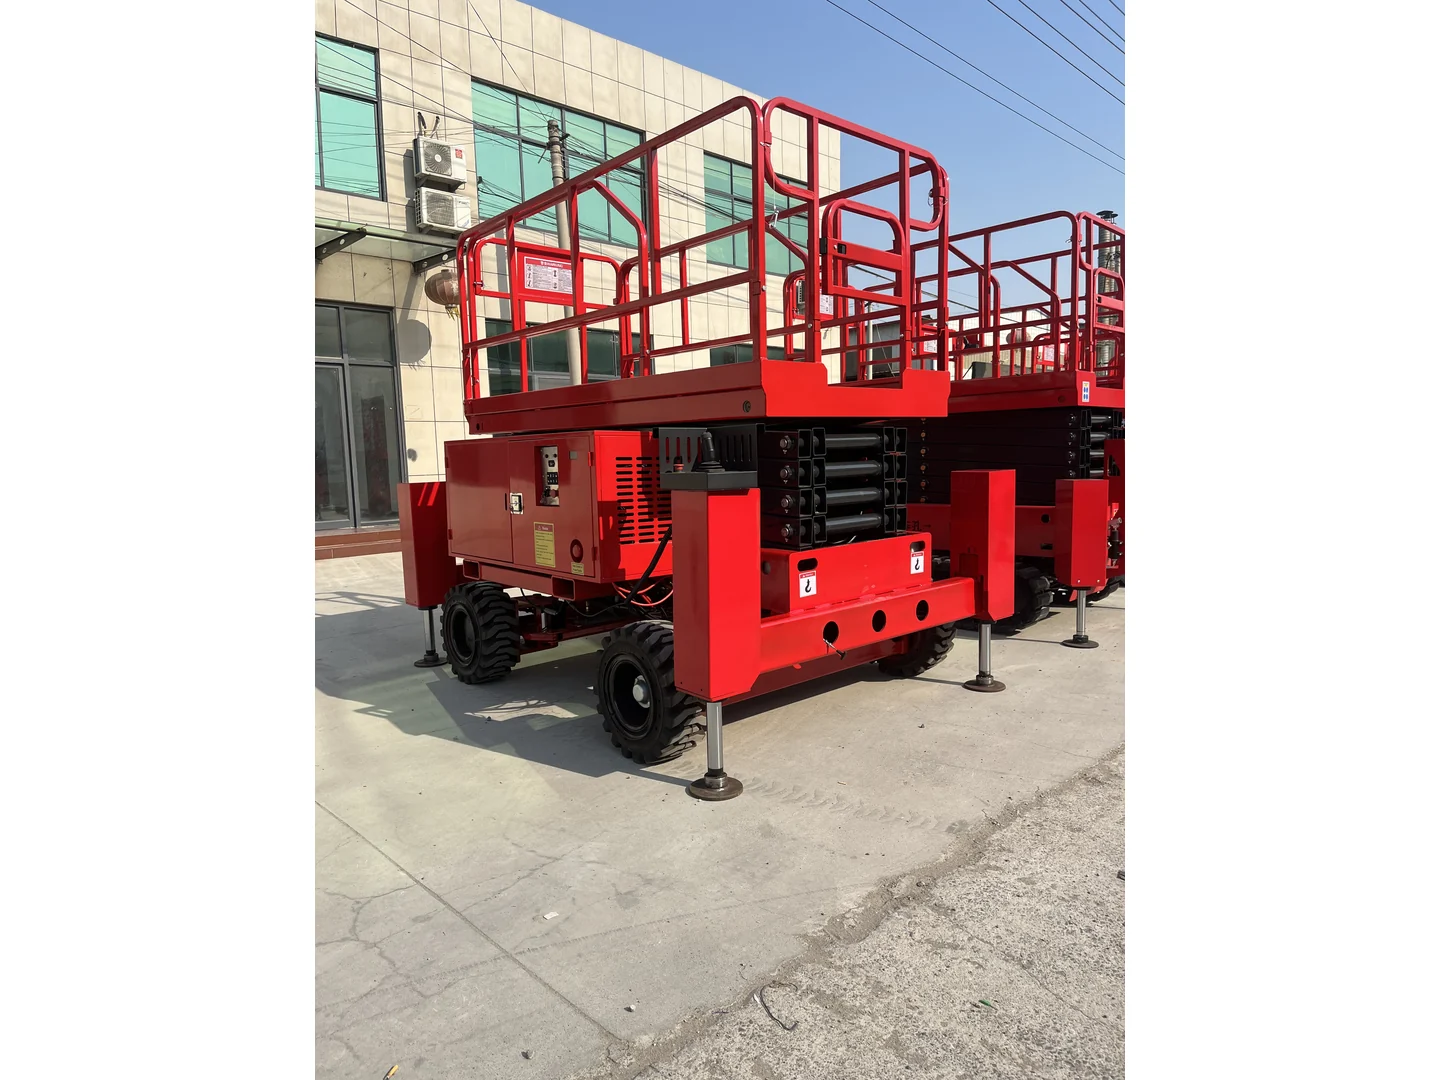
Complete wheeled chassis, platform and support view

01 / Category boundary

Define the task before the configuration.

A rough terrain scissor lift is a wheeled scissor-platform category intended for a project review centered on outdoor access and ground conditions.

The category name does not prove that a particular configuration is suitable for a site. Surface condition, slopes, level changes, platform and work-point requirement, setup area, support arrangement, access and transport constraints need review.

This product line is handled as a custom configuration; project requirements are collected before quotation.

Wheeled chassis
Record the travel surface and route rather than inferring performance from tire form.
Scissor platform
Define the platform position, work point and task.
Outdoor setup
Identify slopes, edges, openings, weather exposure and the available deployed footprint.

02 / Equipment guide

Understand the structure and compare the task.

Connect the equipment arrangement to your work area, movement route and operating conditions.

Structure and movement

When considering a rough terrain scissor lift, start with the ground and access conditions at the work site. Review the platform, scissor mechanism, base and support arrangement together. The surface, slope and available setup area belong in the brief alongside the required platform task.

Describe the movement route and the setup position independently. Record changes in surface, level and available space, then describe the vertical platform task at the work location. Include people, tools and materials as part of the platform brief.
What to compare

Compare possible base and setup arrangements against measured site conditions. Keep ground information separate from requested platform height or load, so each can be reviewed clearly. Check the operating limits and equipment features for the particular configuration under consideration.

Conditions to establish

Send ground and approach photographs with a site sketch, known slopes or transitions, work-point information and the available setup footprint. State indoor or outdoor use and other environmental constraints. Each condition needs review for the proposed configuration.

03 / Applications

Place the equipment in its working context.

Start with the task, access route and surrounding conditions, then review the configuration against the complete site brief.

01

Outdoor access planning

Organize a vertical-access task around the outdoor route and ground information available for the project.

02

Route-and-slope review

Document slopes, level changes, edges, openings and turns without treating the category name as proof of suitability.

03

Setup-and-transport coordination

Review the working footprint, support arrangement, delivery route and destination together.

05 / Selection inputs

Measure the route, then define the raised task.

A useful enquiry traces the equipment from transport unloading through travel and setup to the final work position.

  1. 01

    Surface and slope

    Describe materials, firmness, cross-slope, gradients and level changes.

  2. 02

    Route and access

    Measure gates, turns, overhead limits, thresholds and the narrowest travel points.

  3. 03

    Platform task

    State the platform position, work point, people, tools and materials.

  4. 04

    Setup footprint

    Mark supports, edges, openings, nearby structures and traffic.

  5. 05

    Weather and environment

    Describe outdoor exposure and expected operating conditions.

  6. 06

    Transport and destination

    Provide loading, unloading, carrier, storage, quantity, destination and timing.

06 / Project path

Turn site information into a reviewable brief.

Keep the project sequence visible so measurements, configuration questions and supporting files reach the enquiry together.

  1. 01

    Survey the route and environment

    Record the surface, slope, level changes, access width, weather exposure and nearby traffic.

  2. 02

    Define the raised task

    Separate the platform position, work-point position, people, tools and material context.

  3. 03

    Review the complete arrangement

    Confirm the wheeled route, setup area, support context, storage and transport requirements.

07 / Buyer questions

Planning FAQ

Common questions about equipment selection and preparing your enquiry.

01 Does the category name confirm site suitability?

No. A particular route and setup area still require ground, slope, access, platform and environmental review.

02 Which surface details should I send?

Describe the material and firmness and mark slopes, transitions, drains, openings, edges and any soft areas.

03 How is this different from a crawler scissor lift?

This route is organized around a wheeled chassis. The crawler route uses a tracked chassis and a separate ground-and-access review.

04 Are tire, drive or performance claims shown?

No. Ask about tire type, drive arrangement and operating limits for the configuration being discussed.

Start the project brief

Send the interface, route and site context.

The product family is carried into the enquiry form so the follow-up starts from the right category.

Request a project review
Quick enquiry Full quote